
Sometimes you spend hours photographing glass wear and get nowhere...
In this post I will share with you ways to shoot and I will try to show you different outcomes. It's much easier once you get your head wrapped around it.
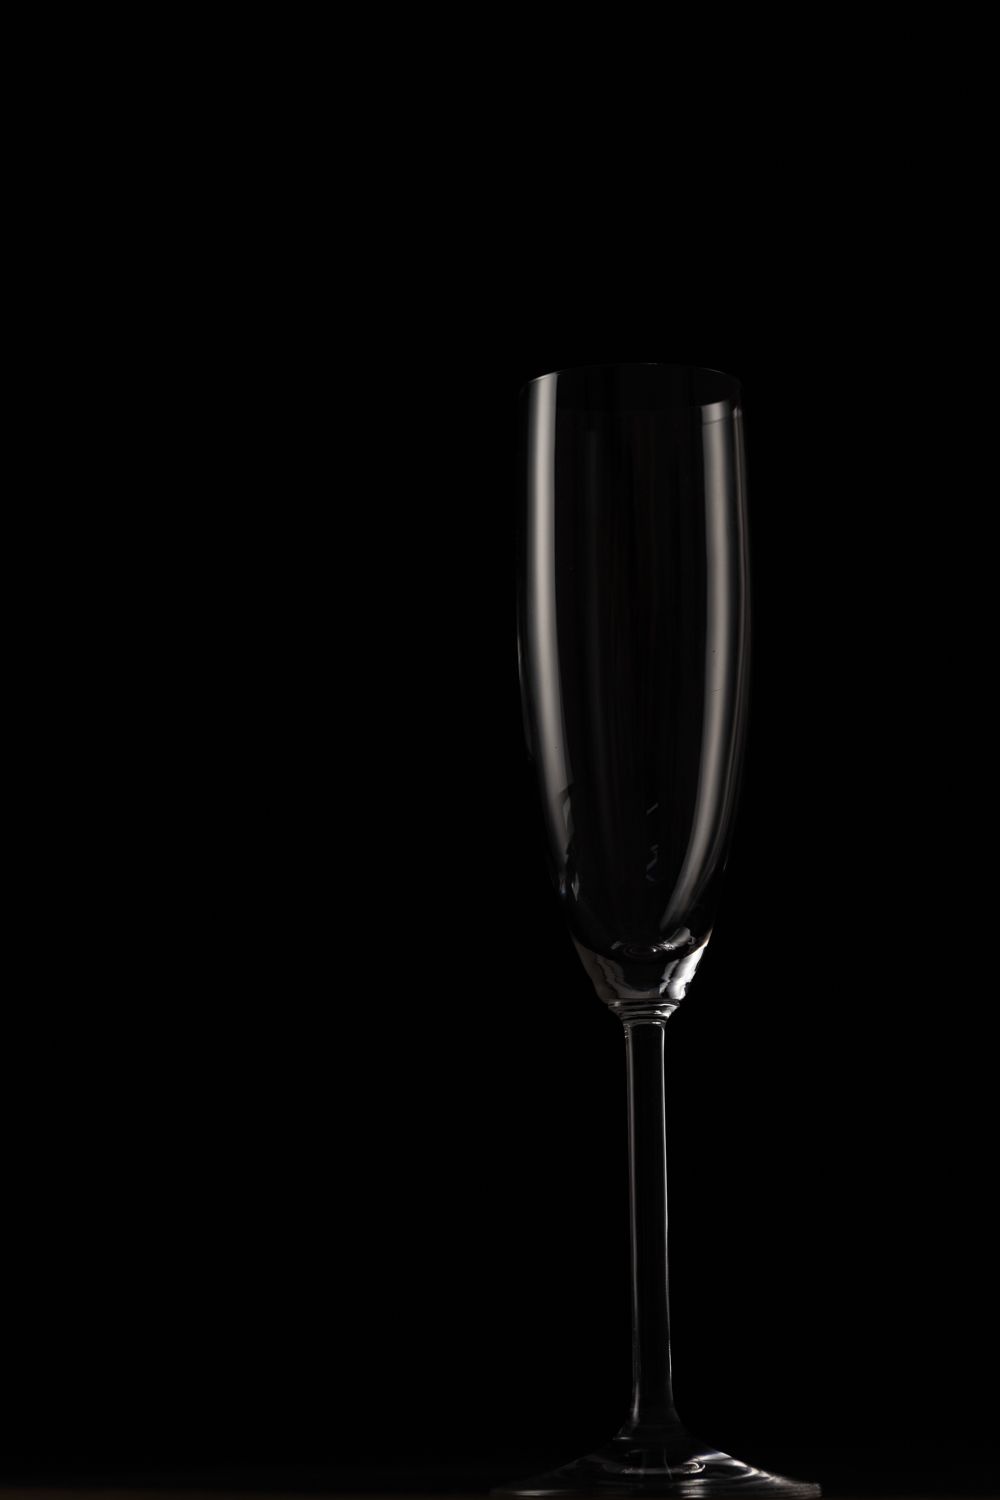
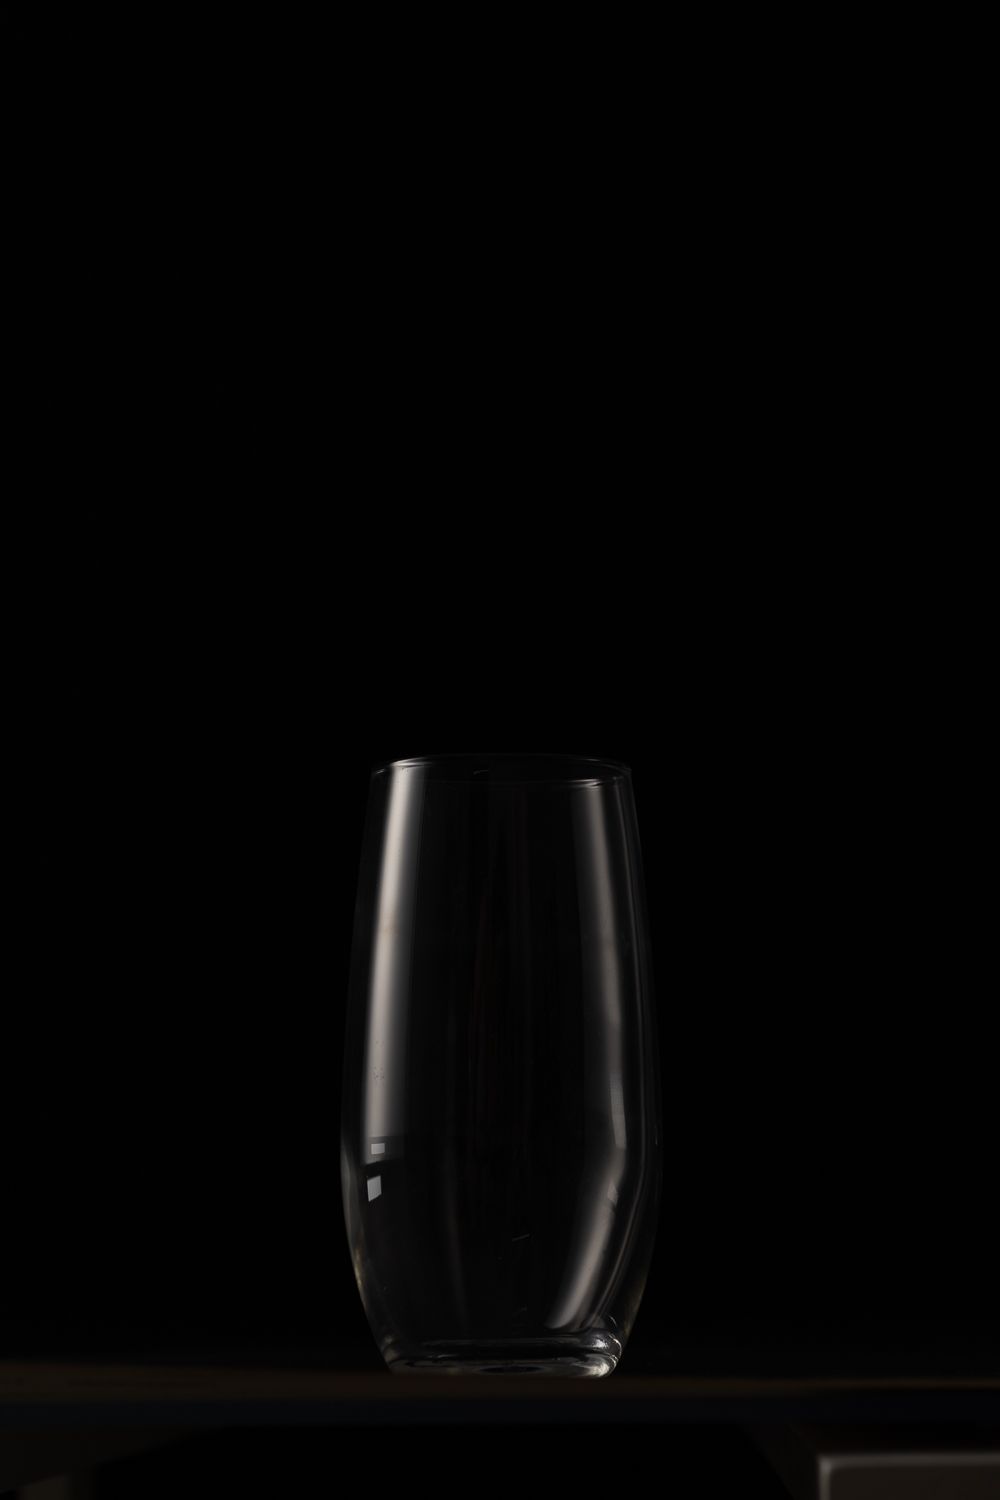
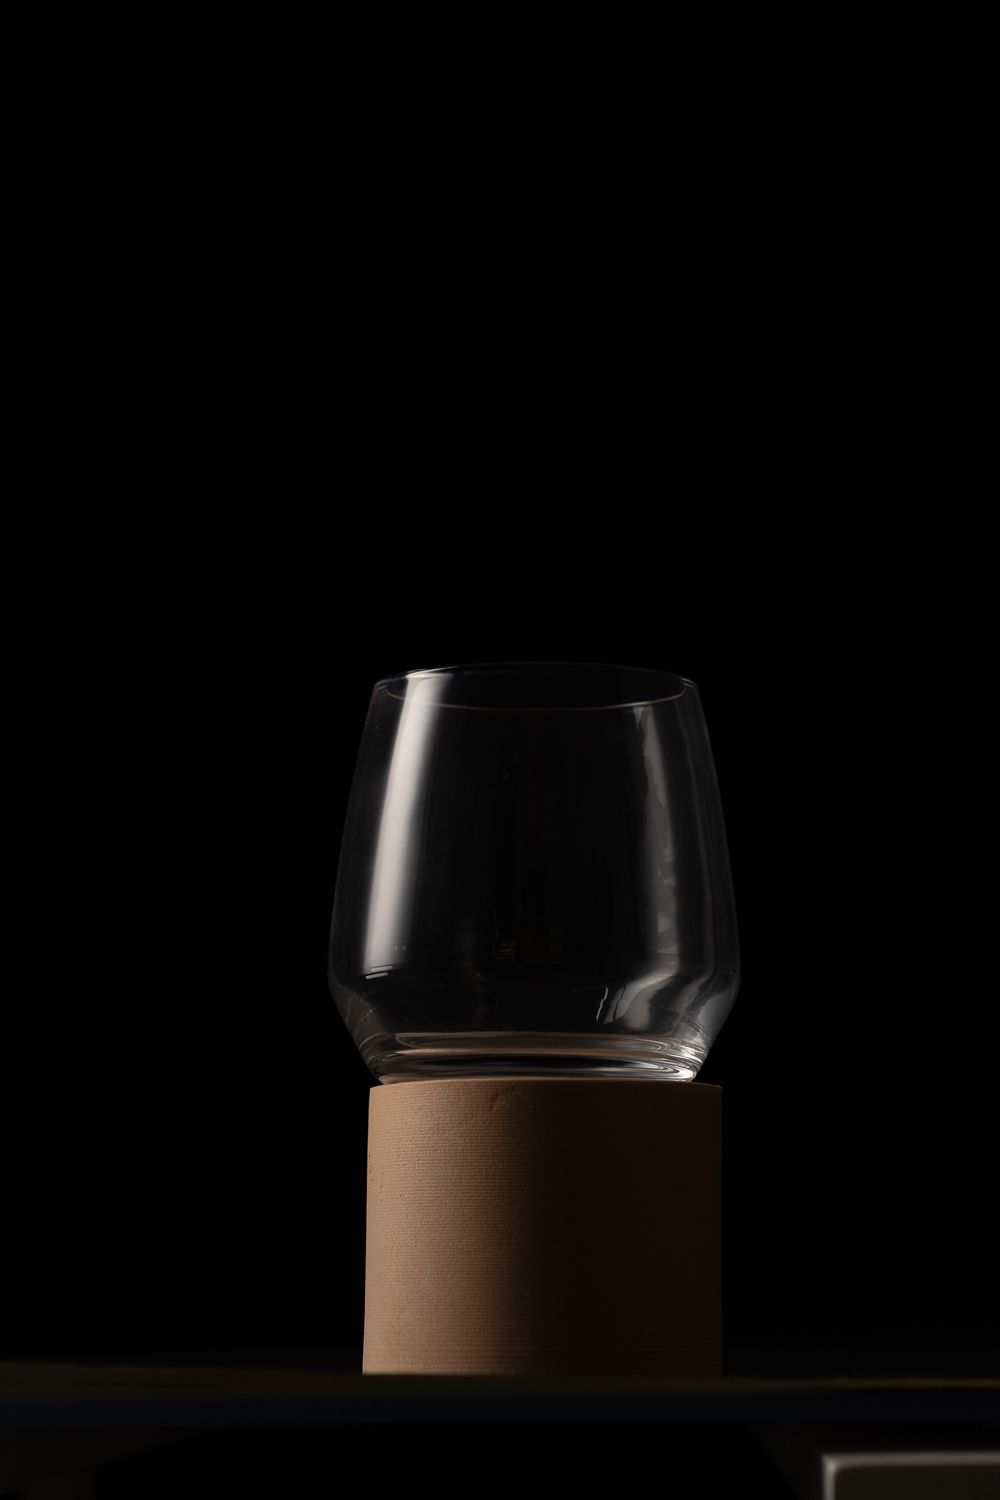
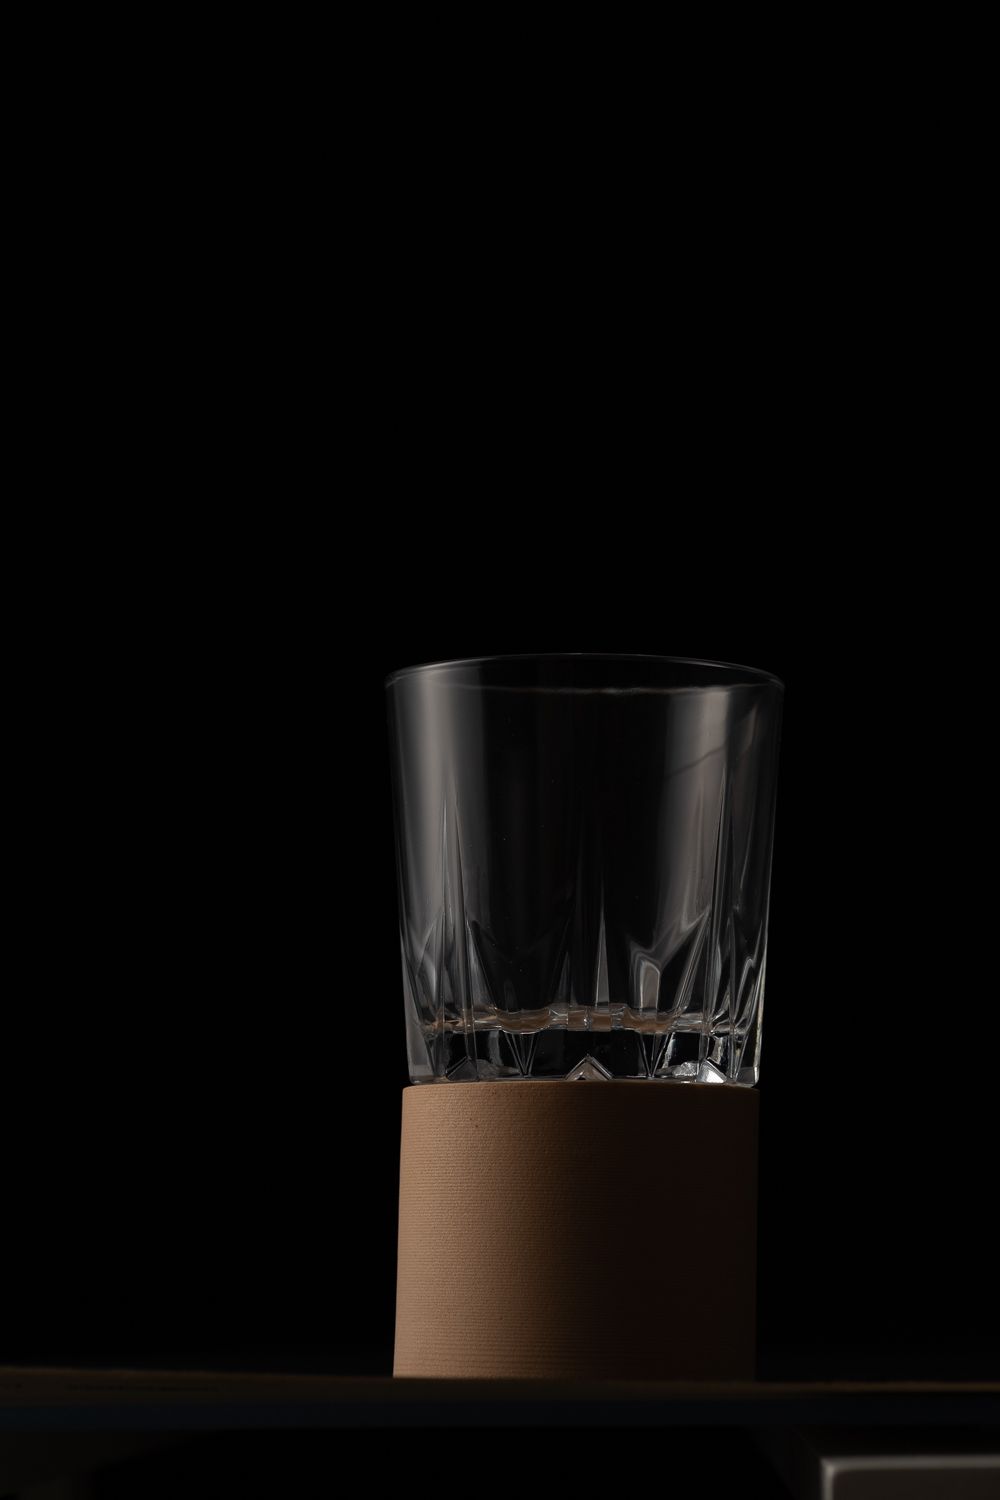
glare 1
So here is images from the same light set up. You can see the light is harsher a bit, the lines are defined. The light source stands right at the subject, sending the light at a 90º to the subject.
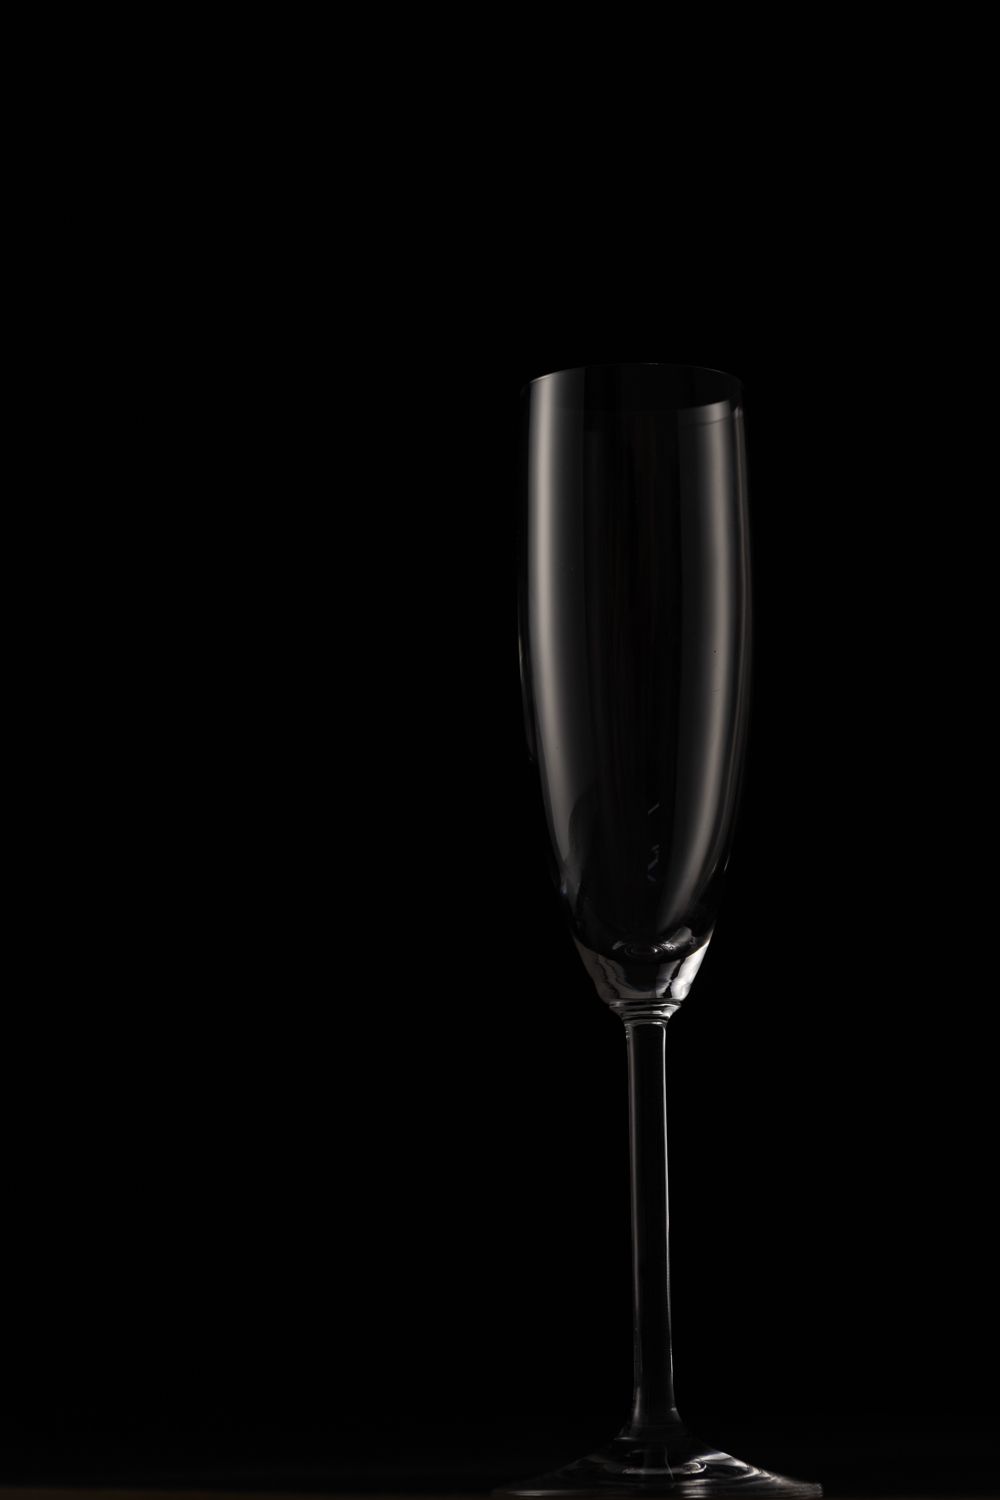
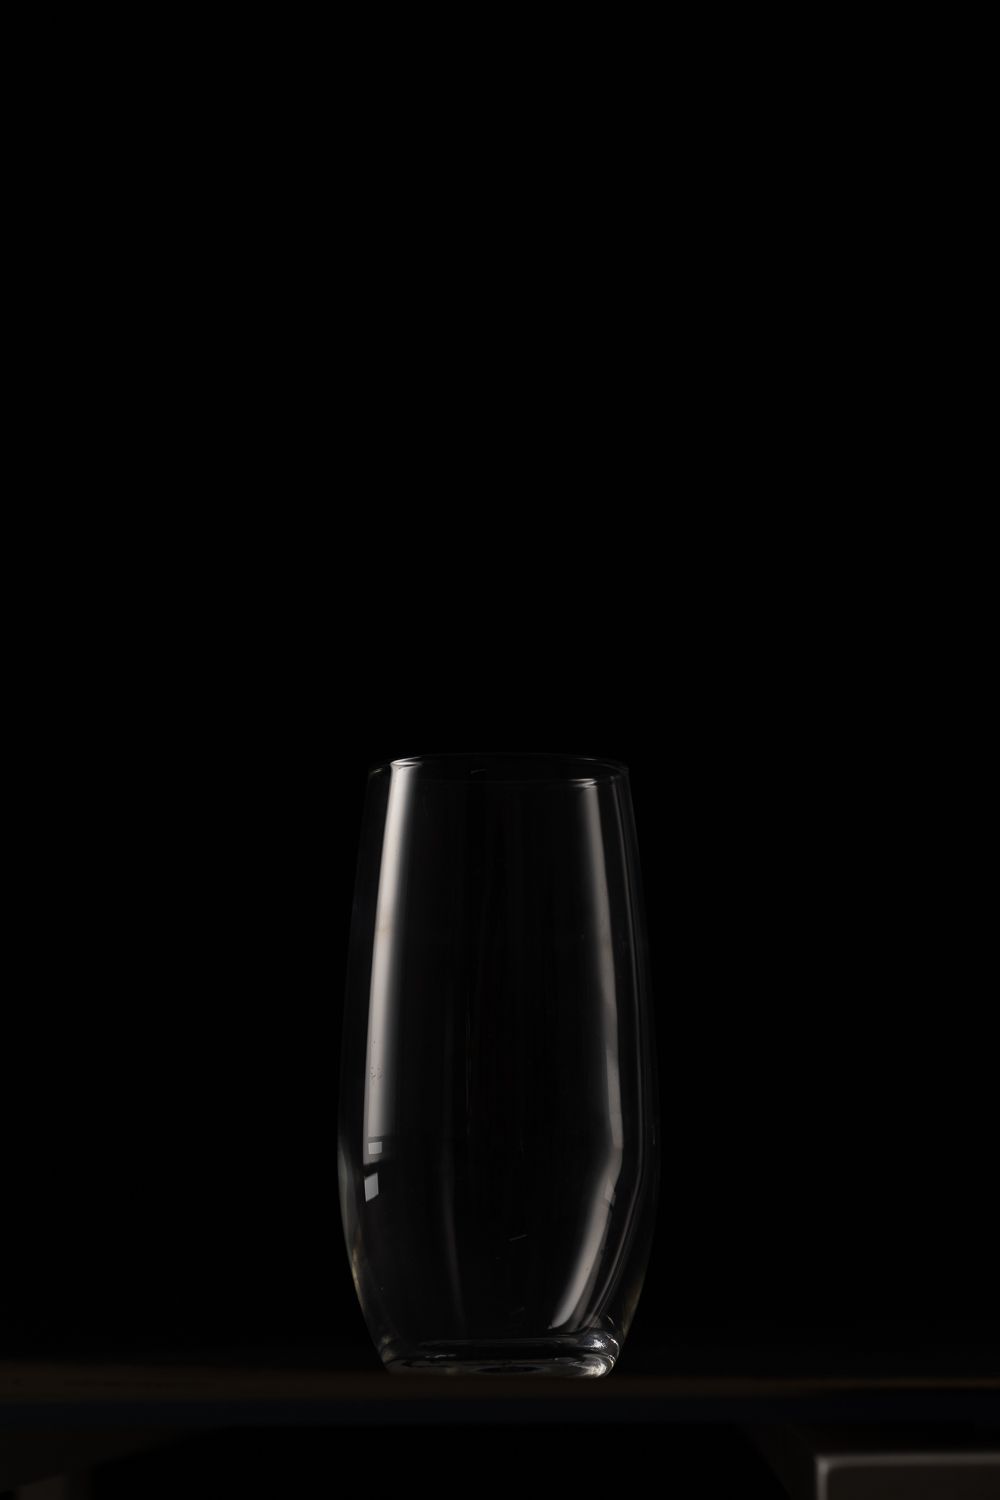
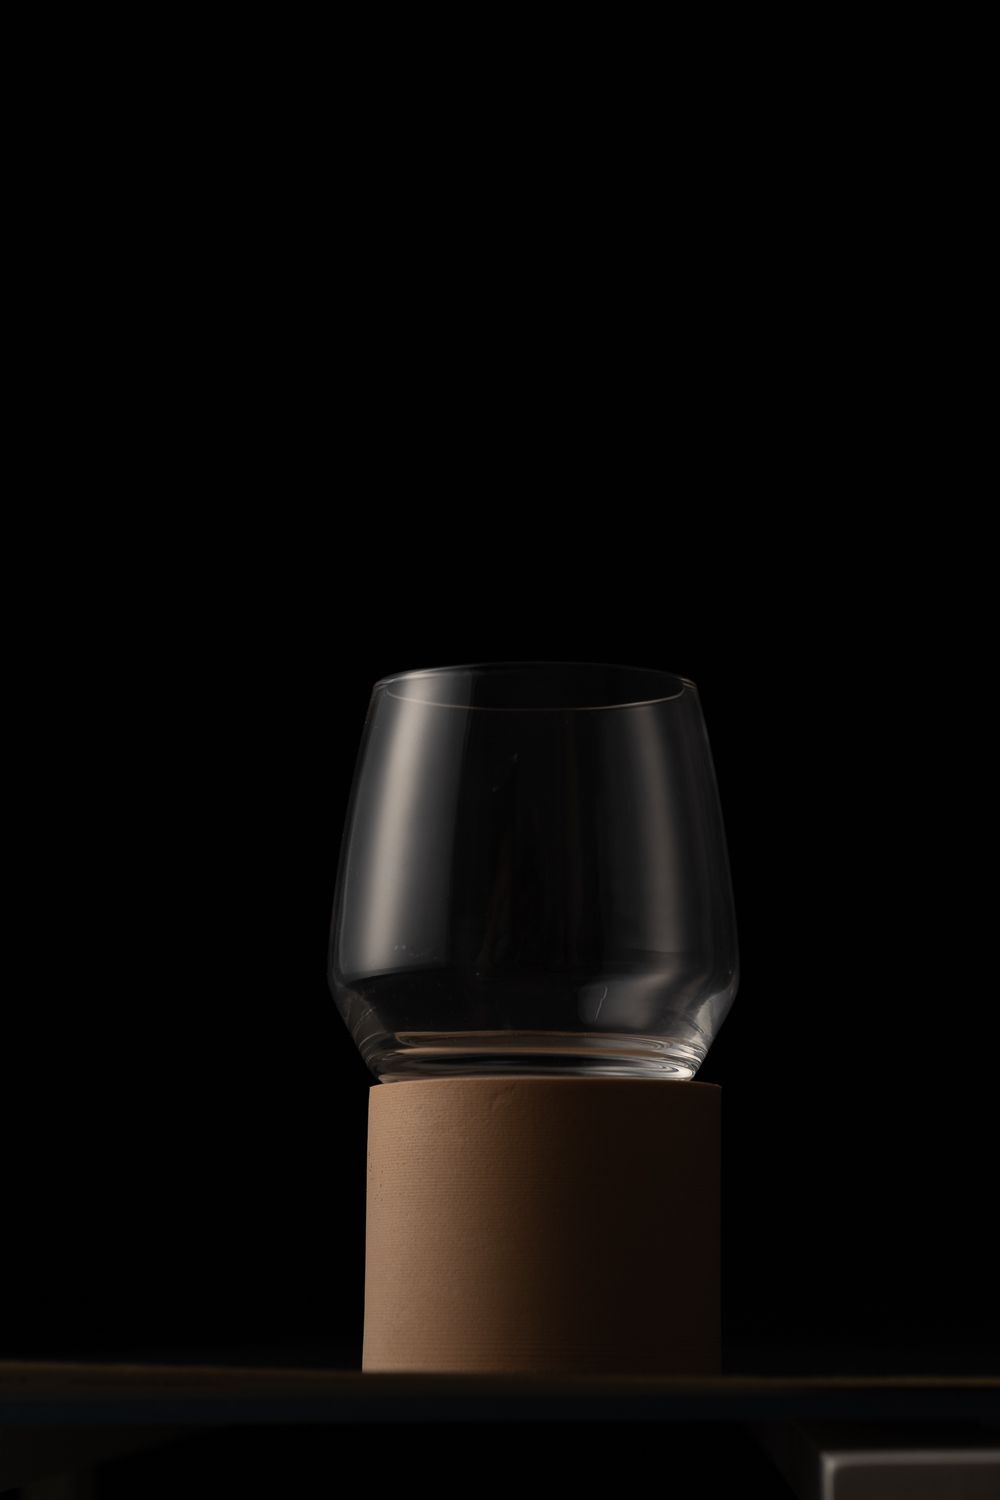
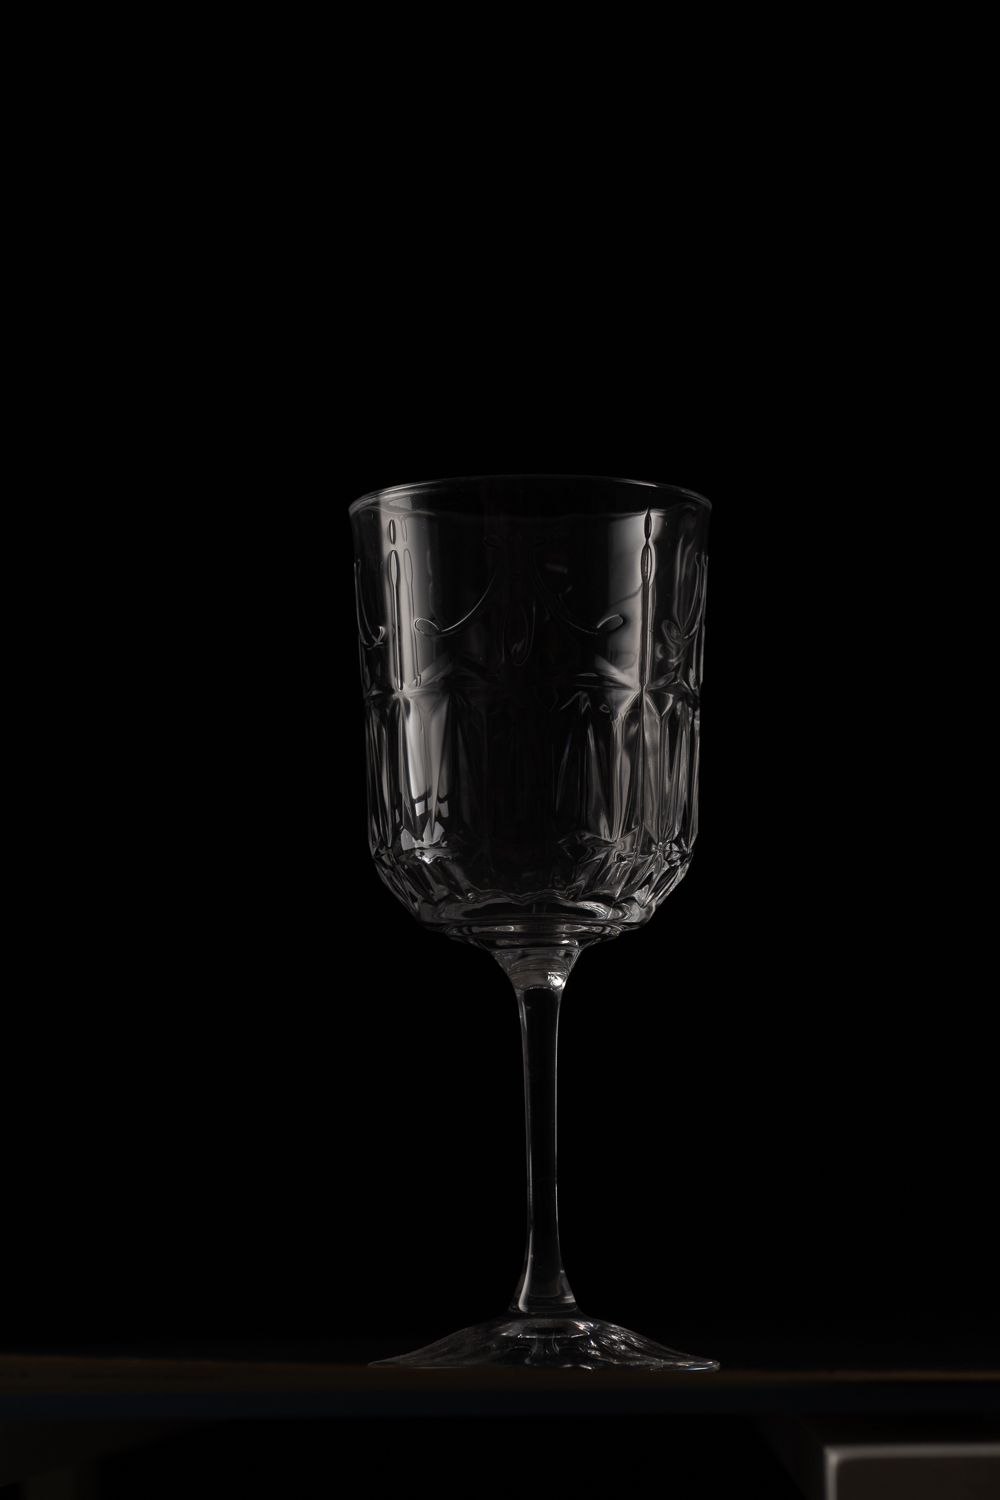
glare 2
A lot more diffused reflection on the glass, it's smoother and it looks more appealing. Still you can see borders of the reflection more defined. It's achieved by setting the backlit (frost frame) in between the strip box and the subject.
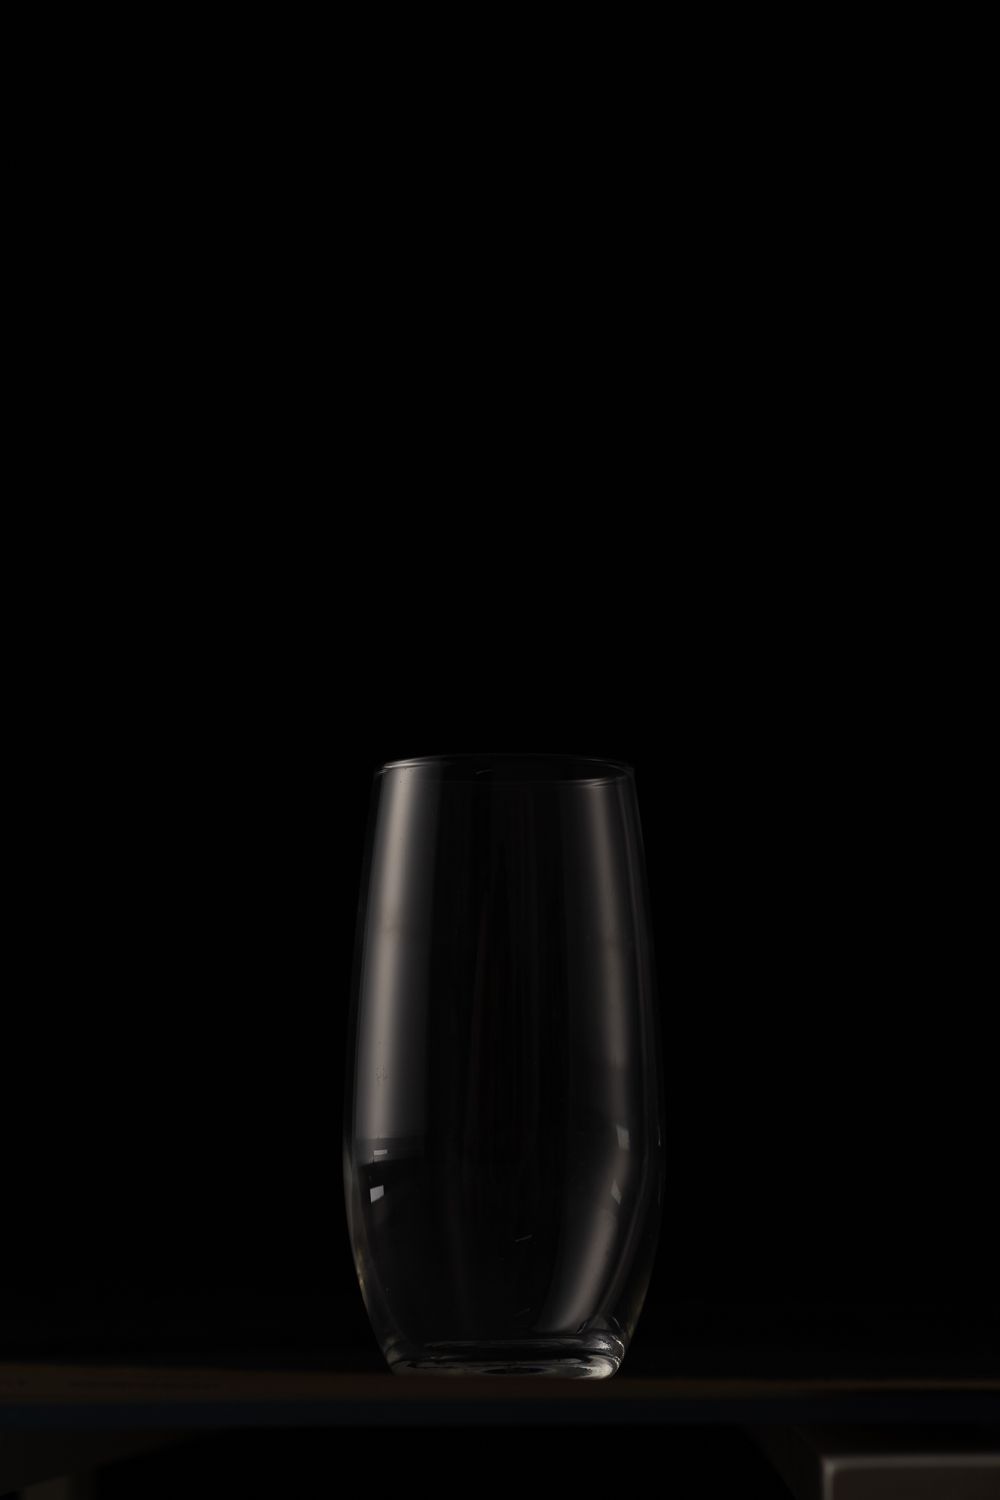
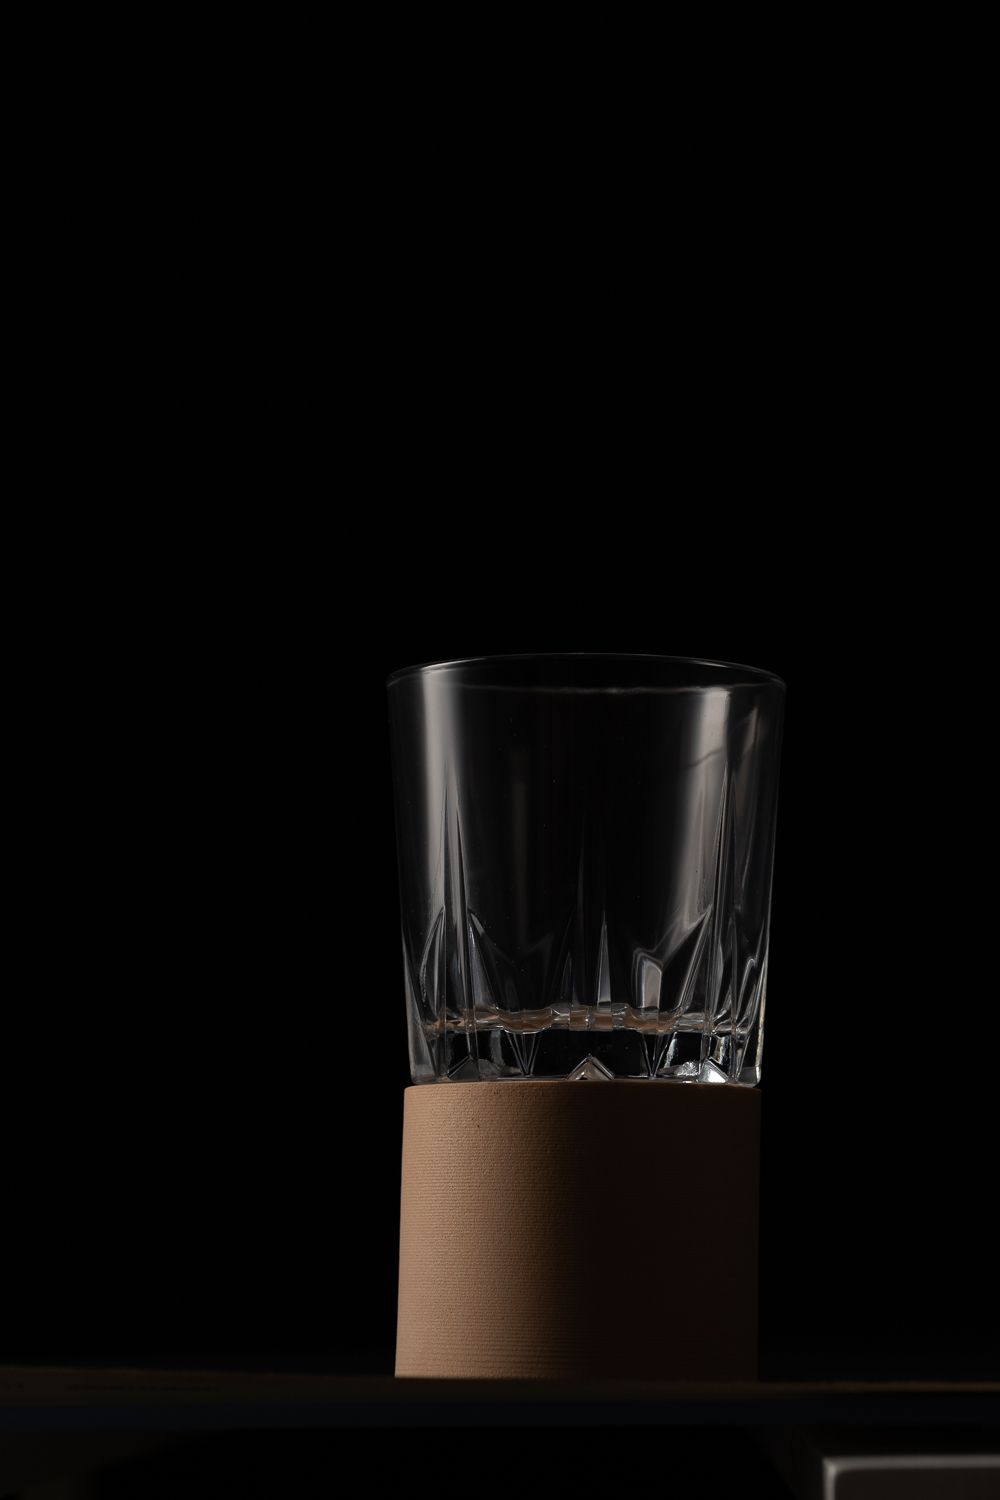
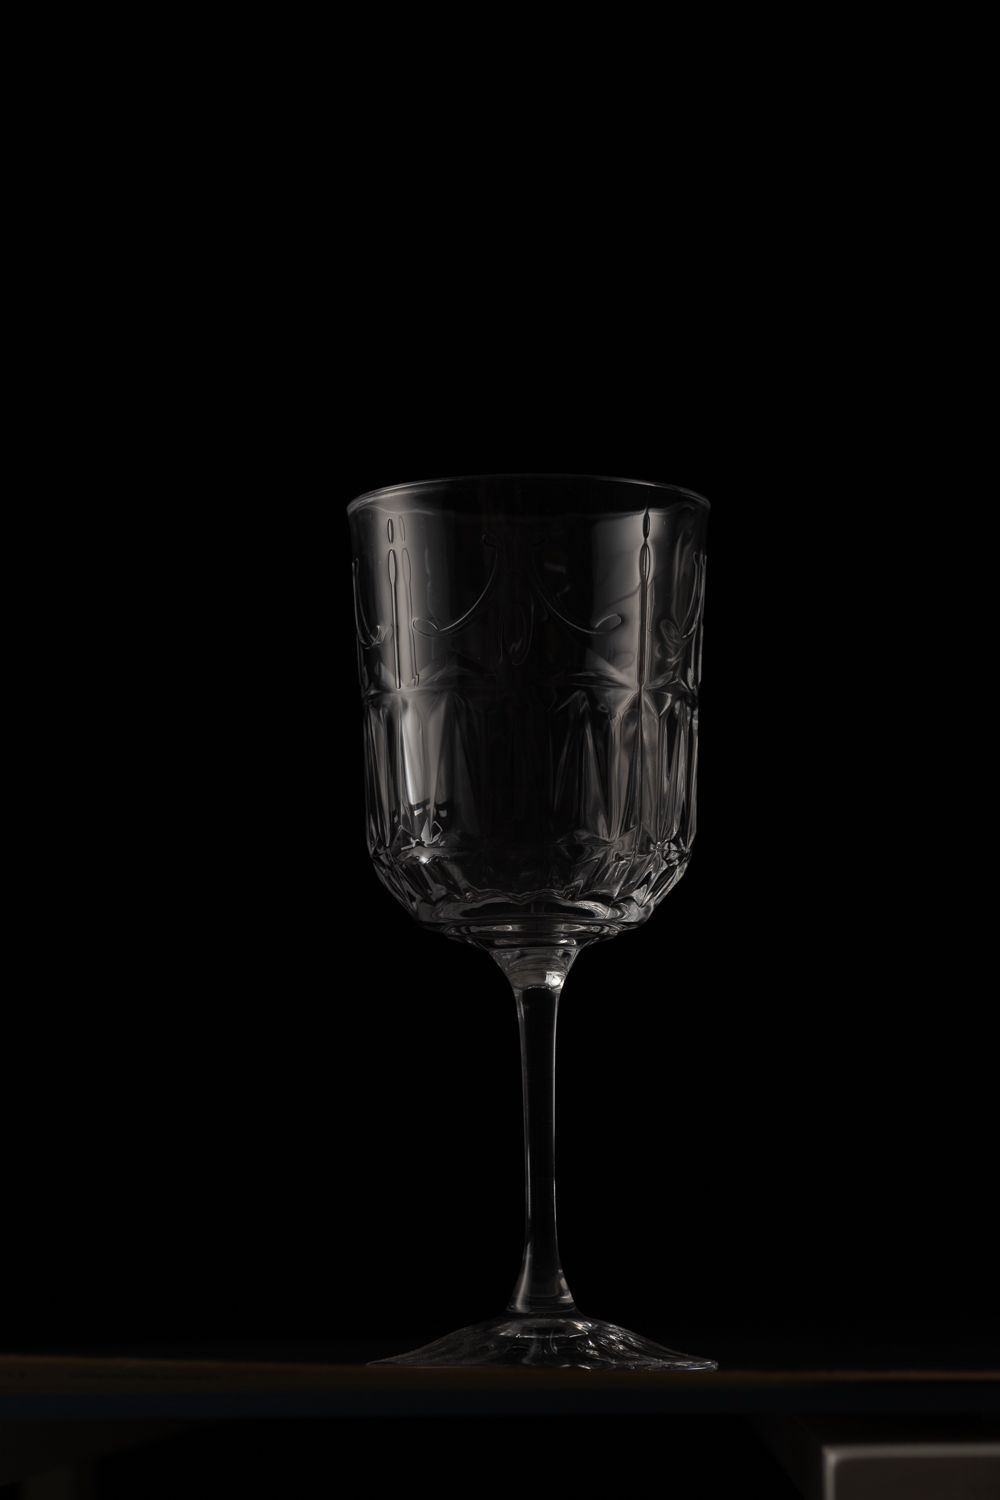
glare 3
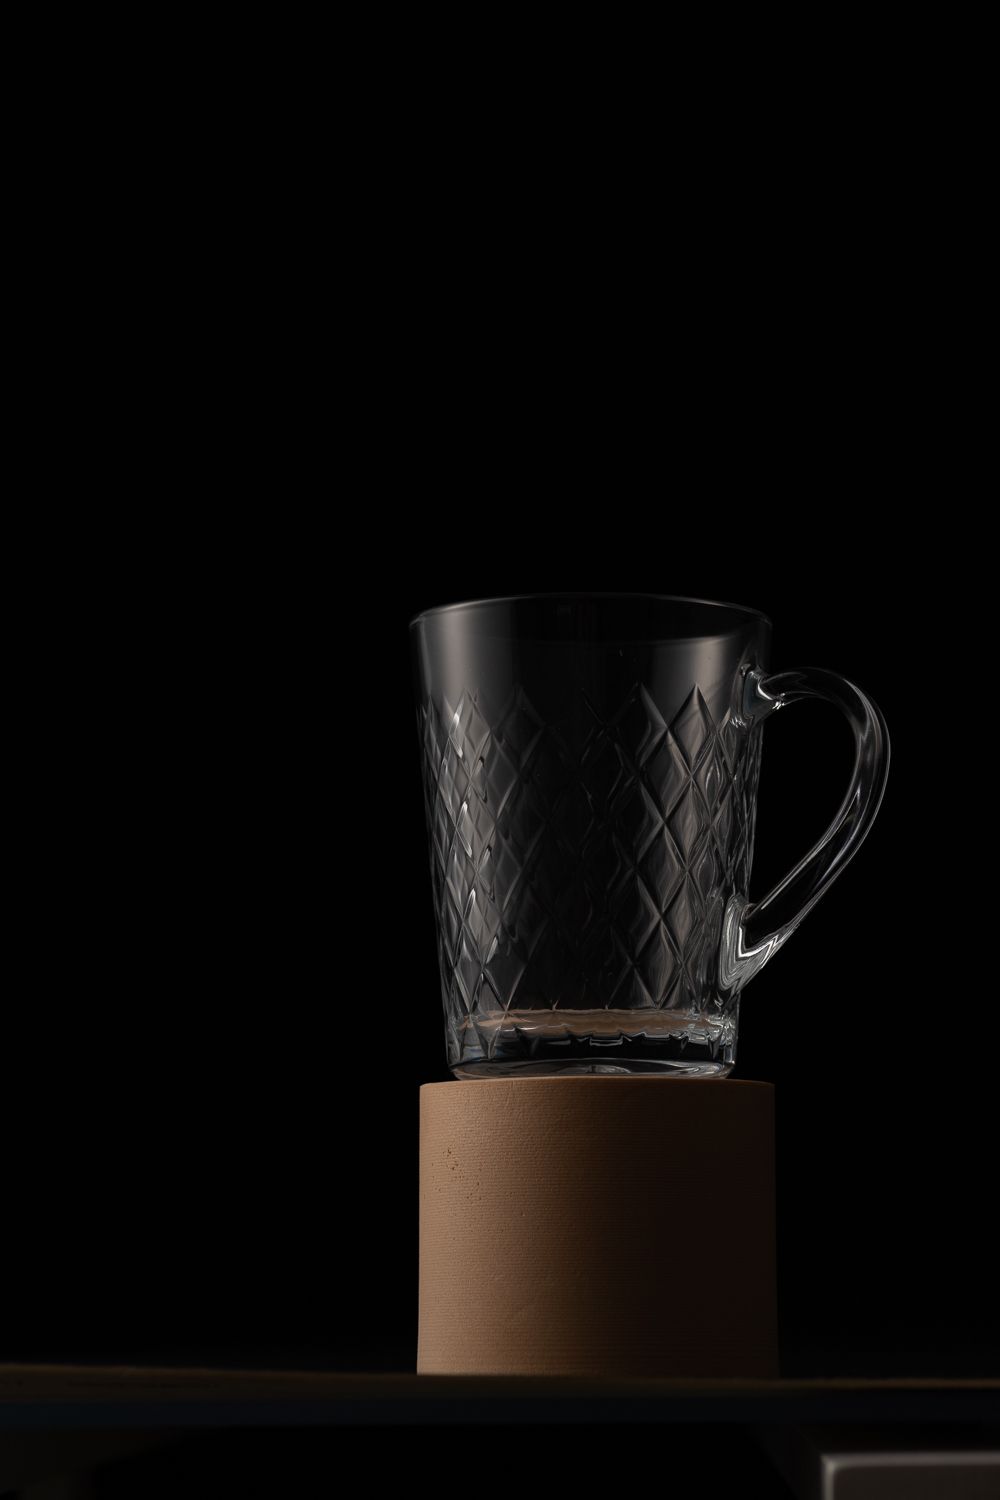
Here you can see the a more gradient glare on the glass. Depending on the mood you are going for, this one can be very nice to show tenderness of your drink. I really like this glare, although I don't always use it, I find it to be the softest. It's achived by placing the strip box at an angle from the subject and leaving the backlit at 90º to the subject.

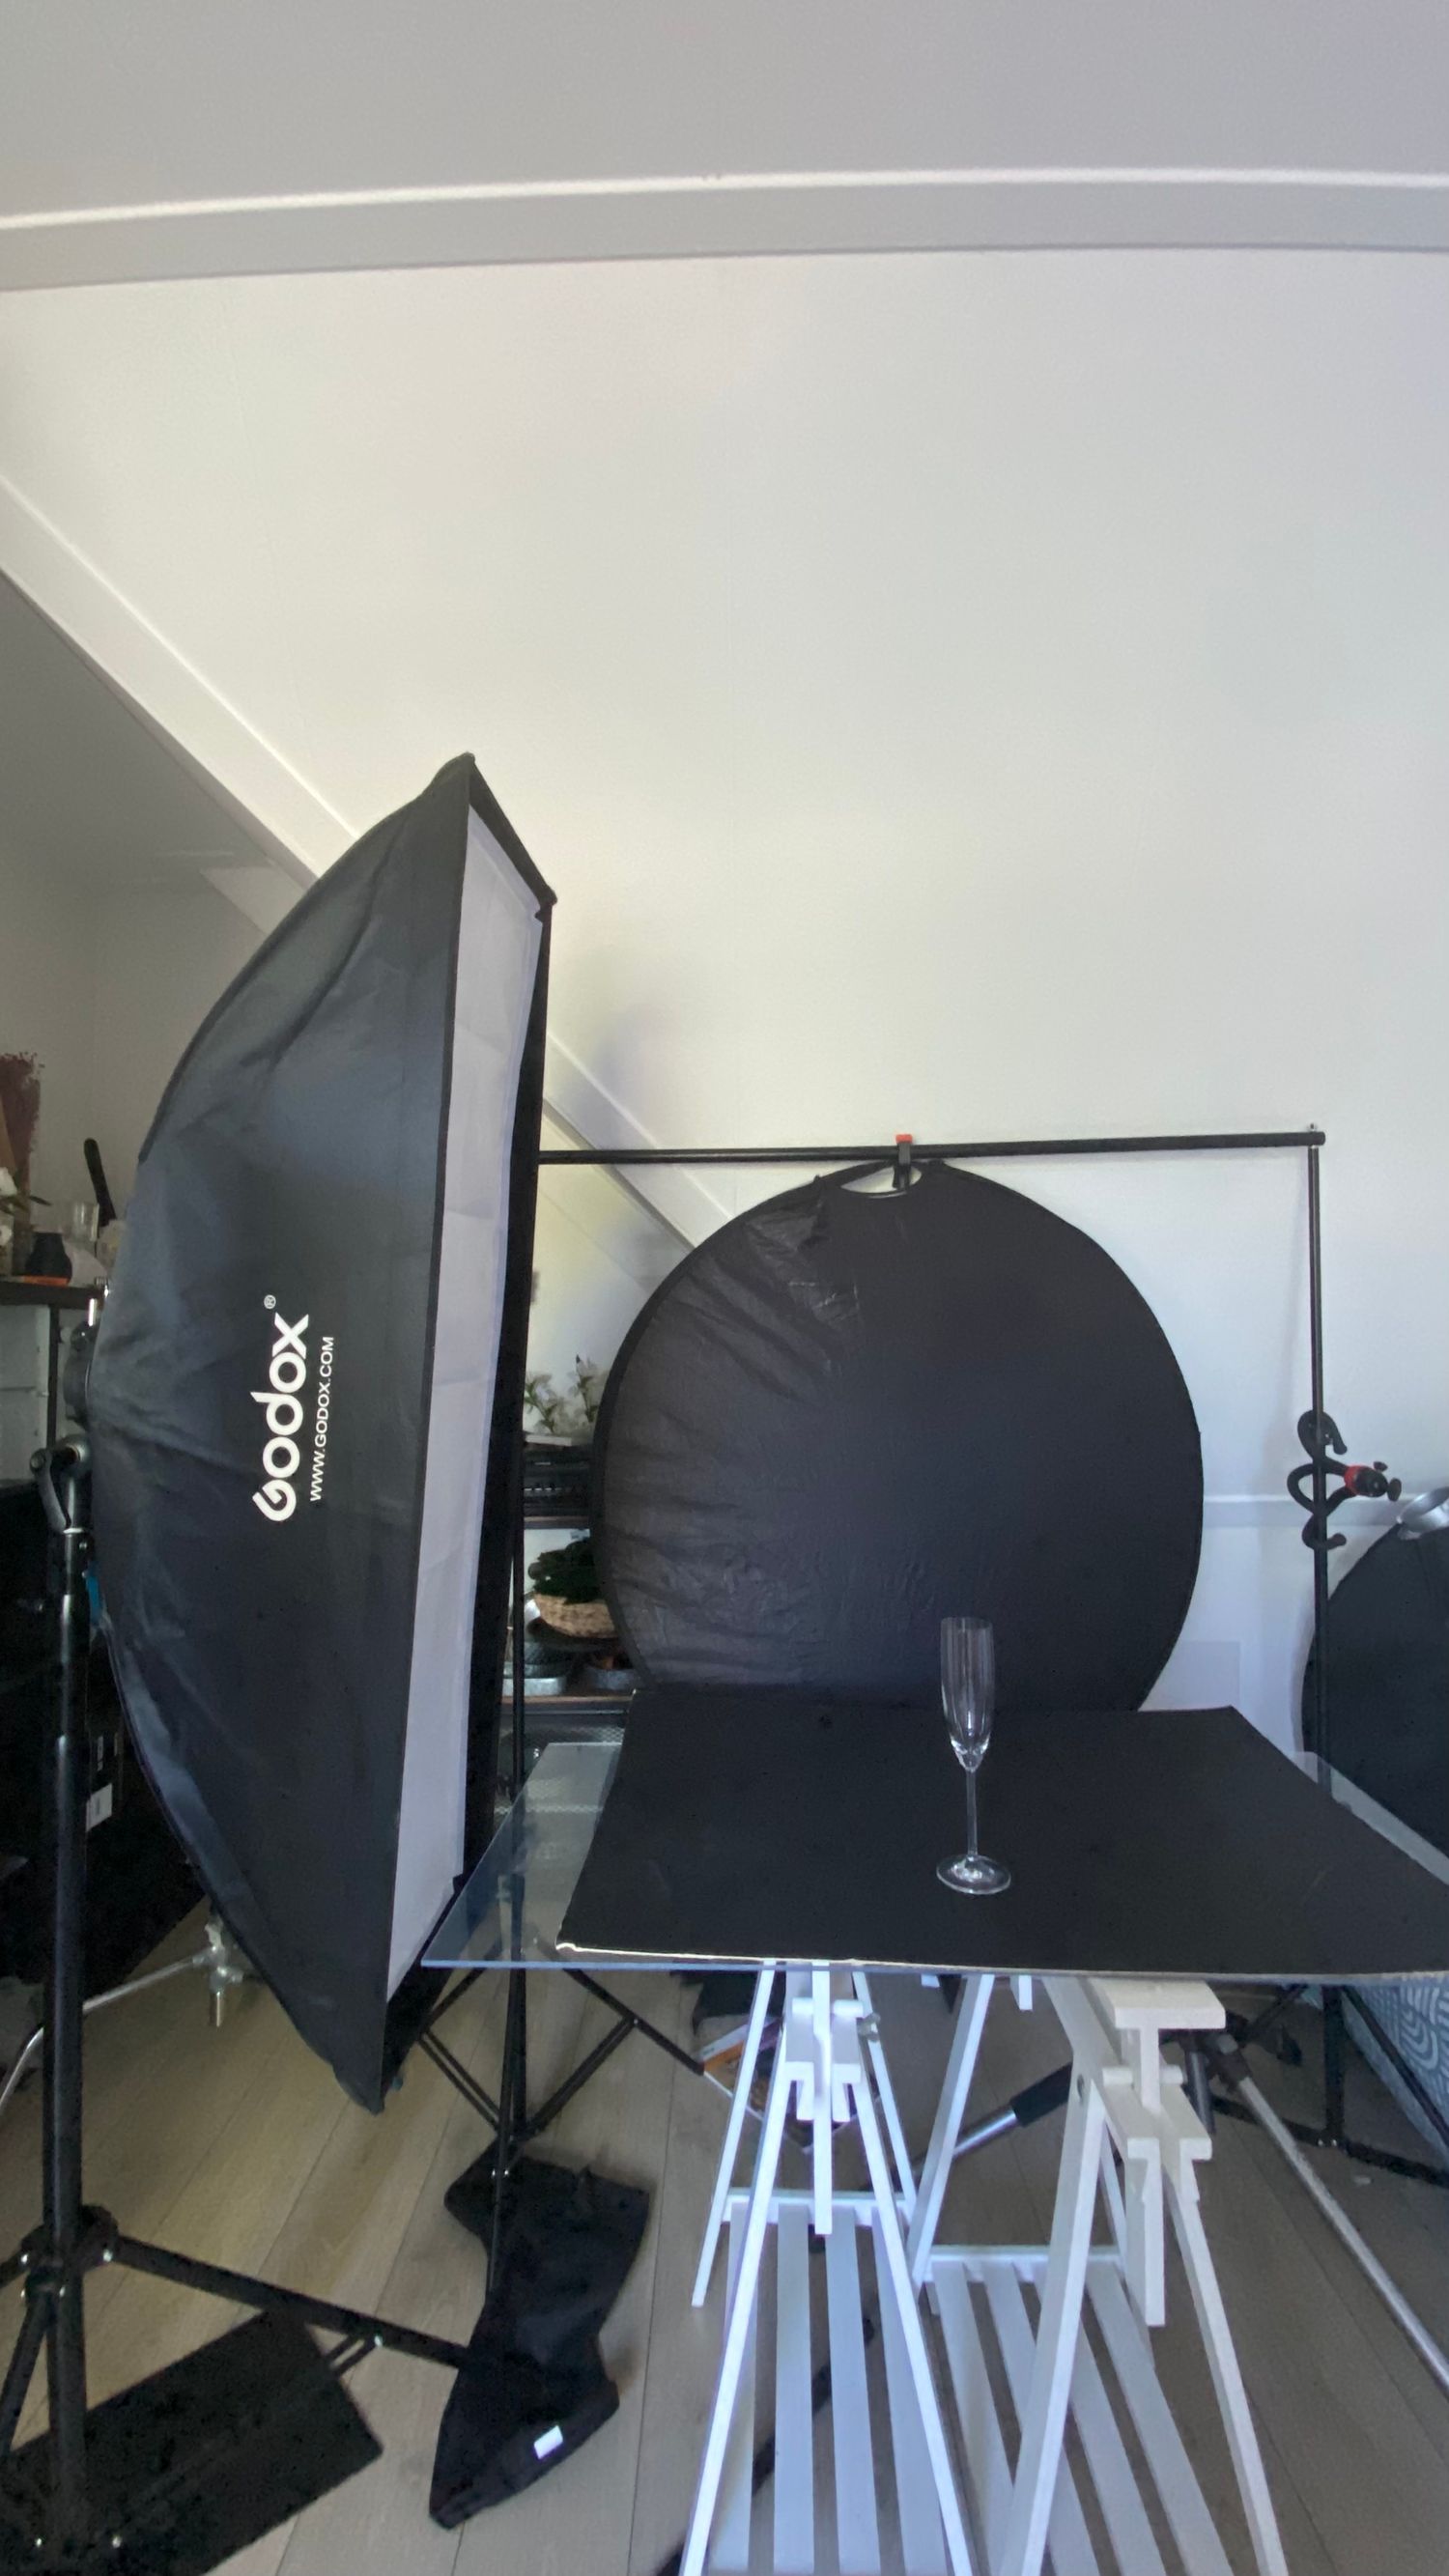
Set up 1
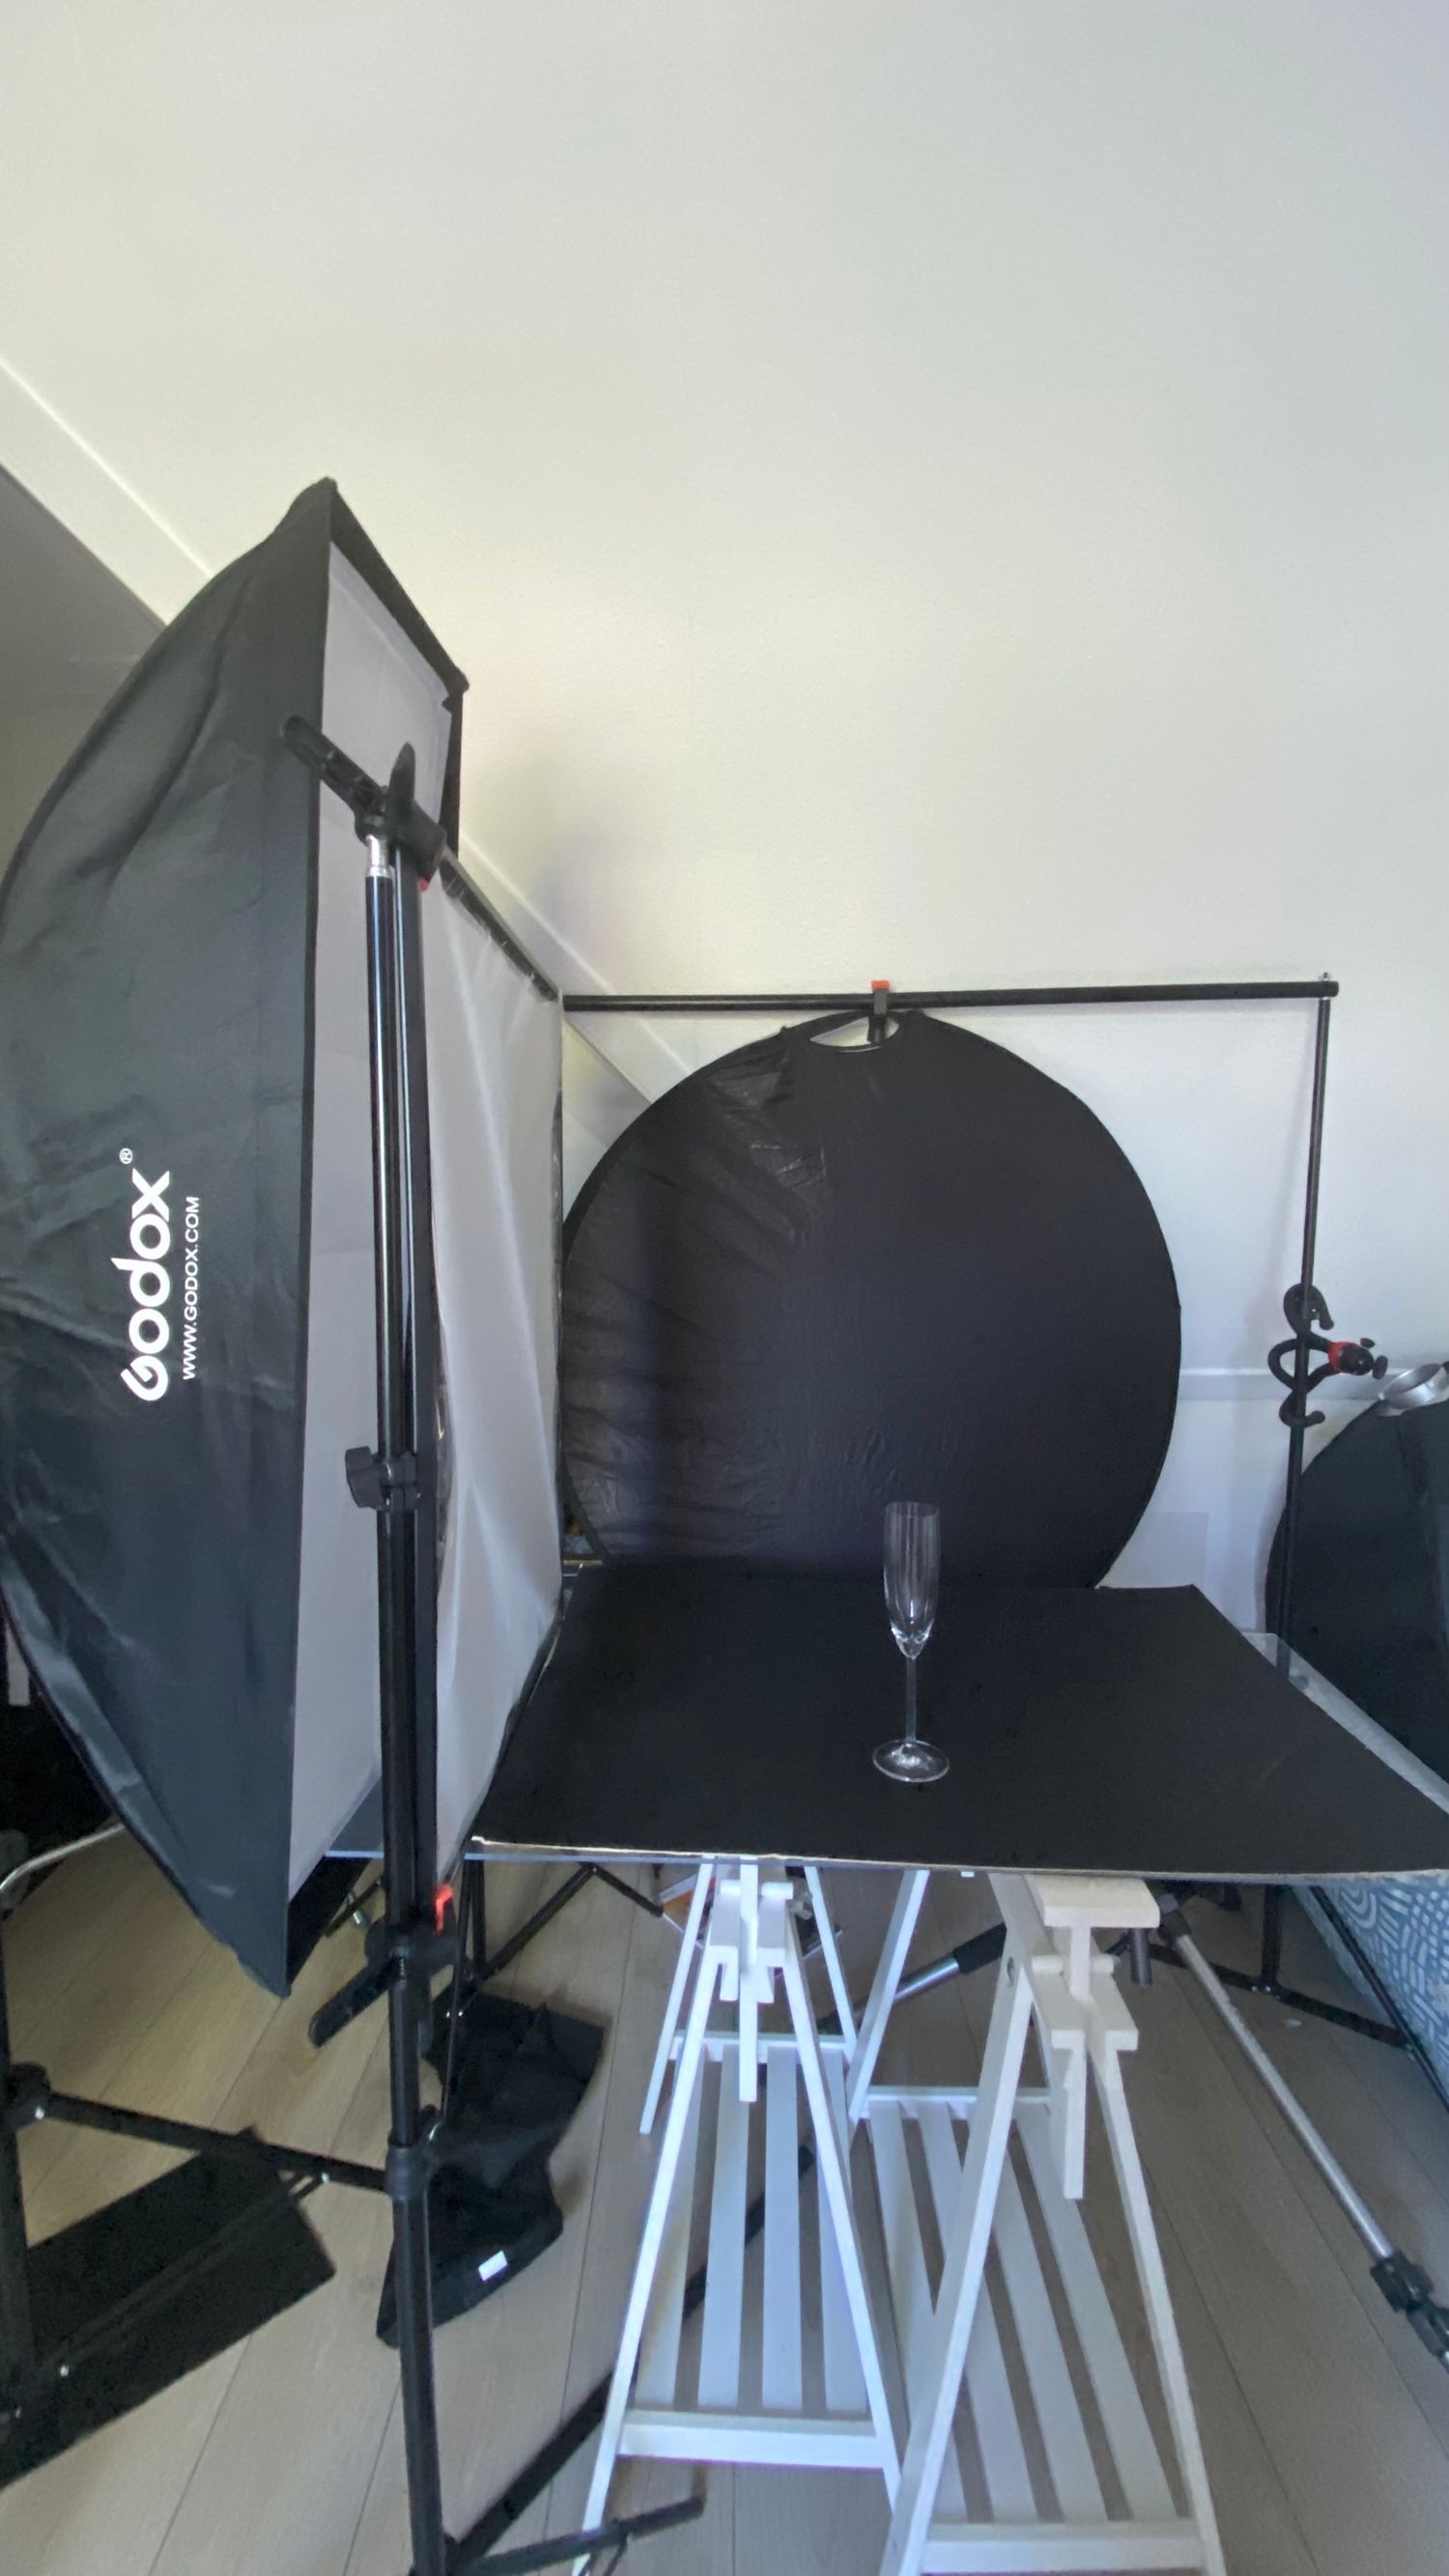
Set up 2
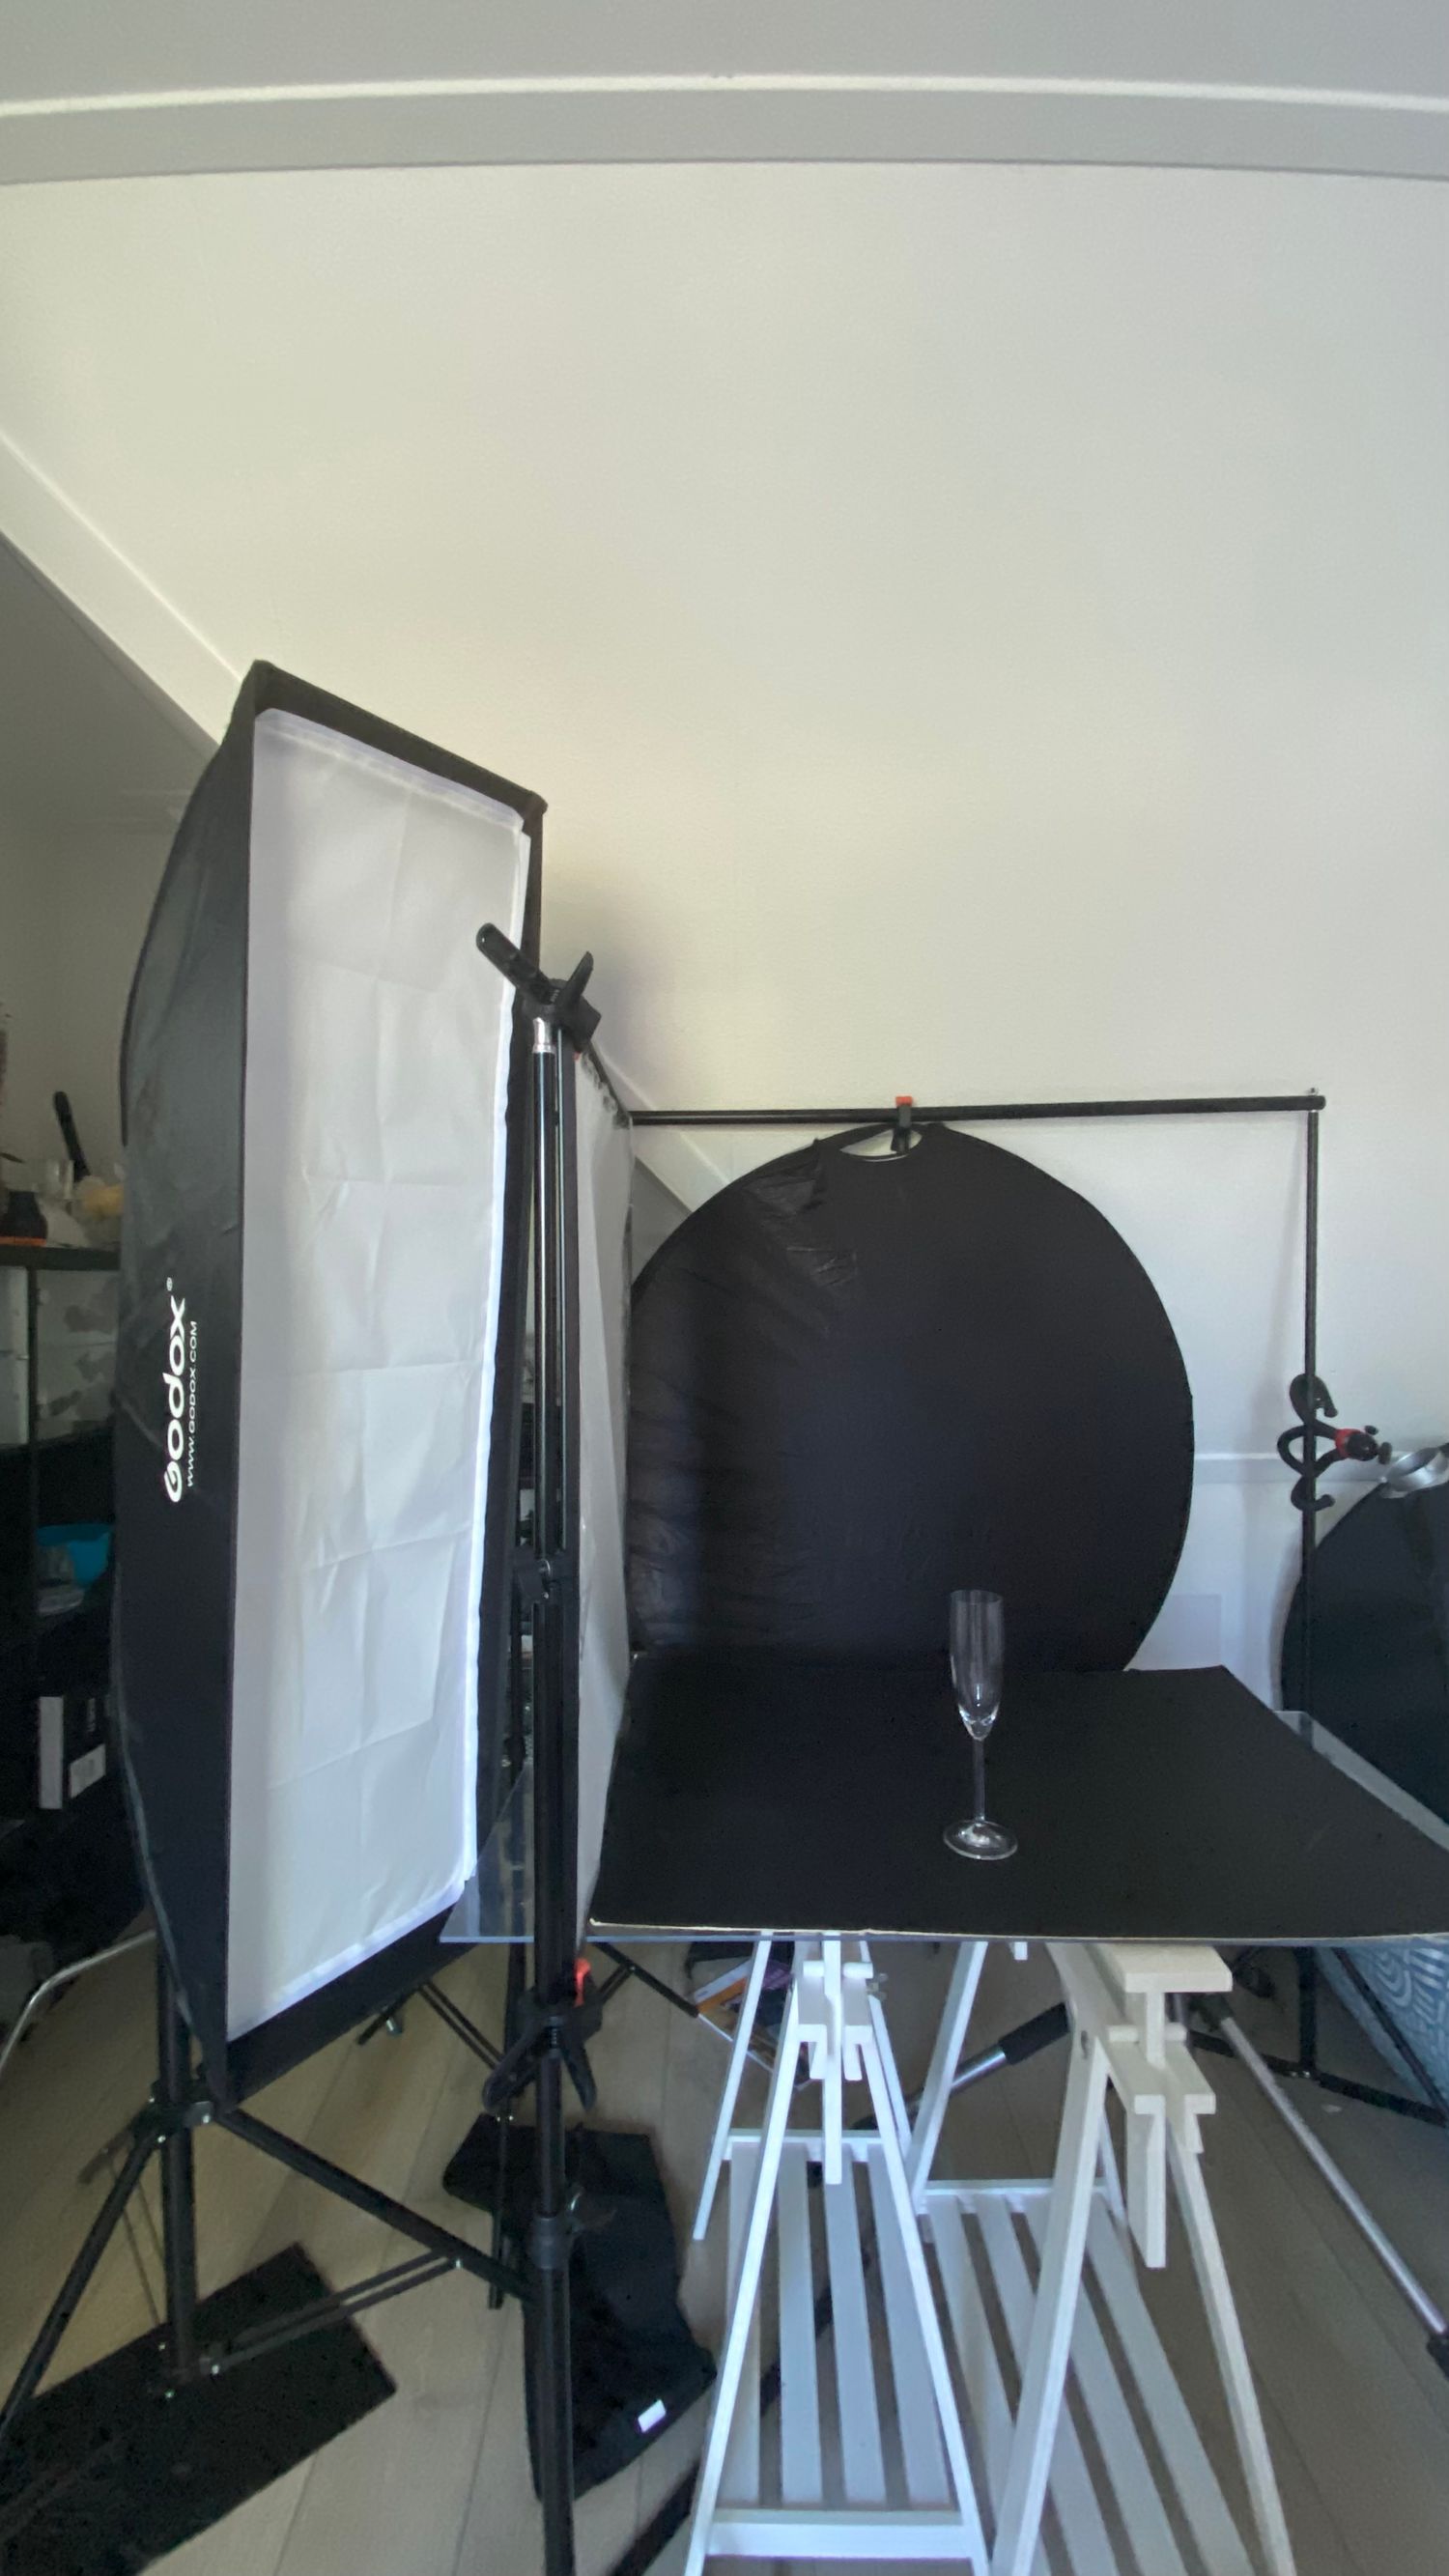
Set up 3
In the Set up 1, the light goes directly at the subject. Creating that defined glare that you saw above.
Fro additional diffusing, I used home made frost frame (with backlot paper in it). This way I have added a layer of a product that would make light galre with less intensity.
To create a gradient I have moved the light source a bit away and I have left the backlit the same. This way glare is more intense on one side of the glass, but then it fades away to the other.
All of these pictures above were not edited, they are as they were shot. The idea is to avoid hours in the photoshop and create the right glare on the glass wear during the process.
Glare is a very subjective thing, some like intense, some don't, some prefer gradient to other. Either way, the most important way is to understand how light creates glares. The only way to do it is to either study physics, or try with your set up until your get the idea.
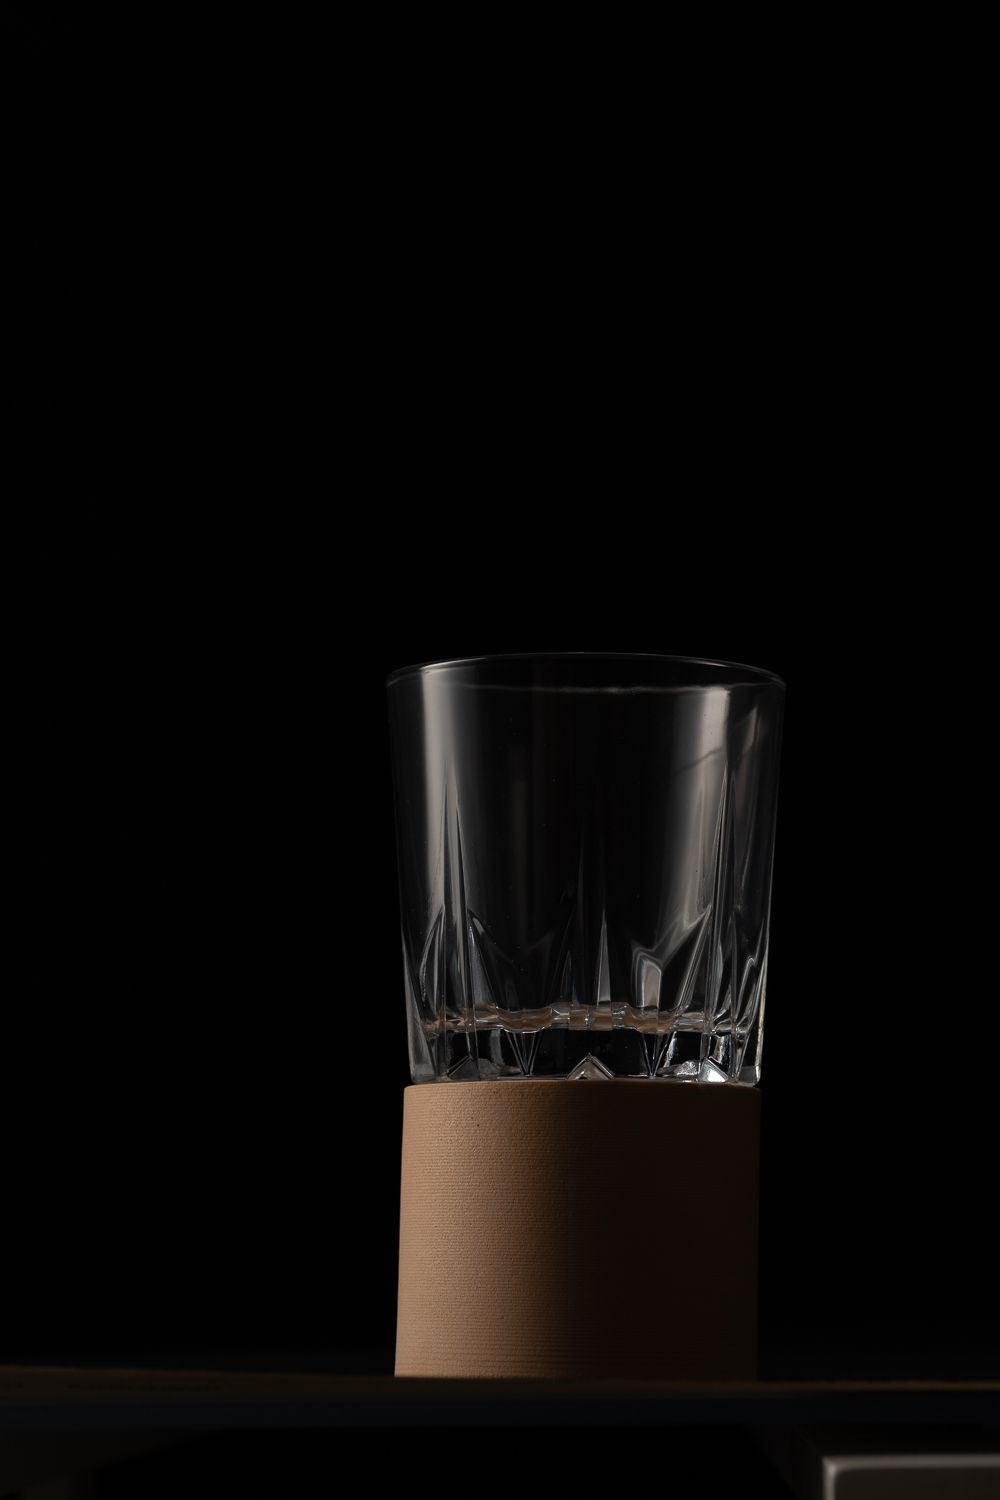
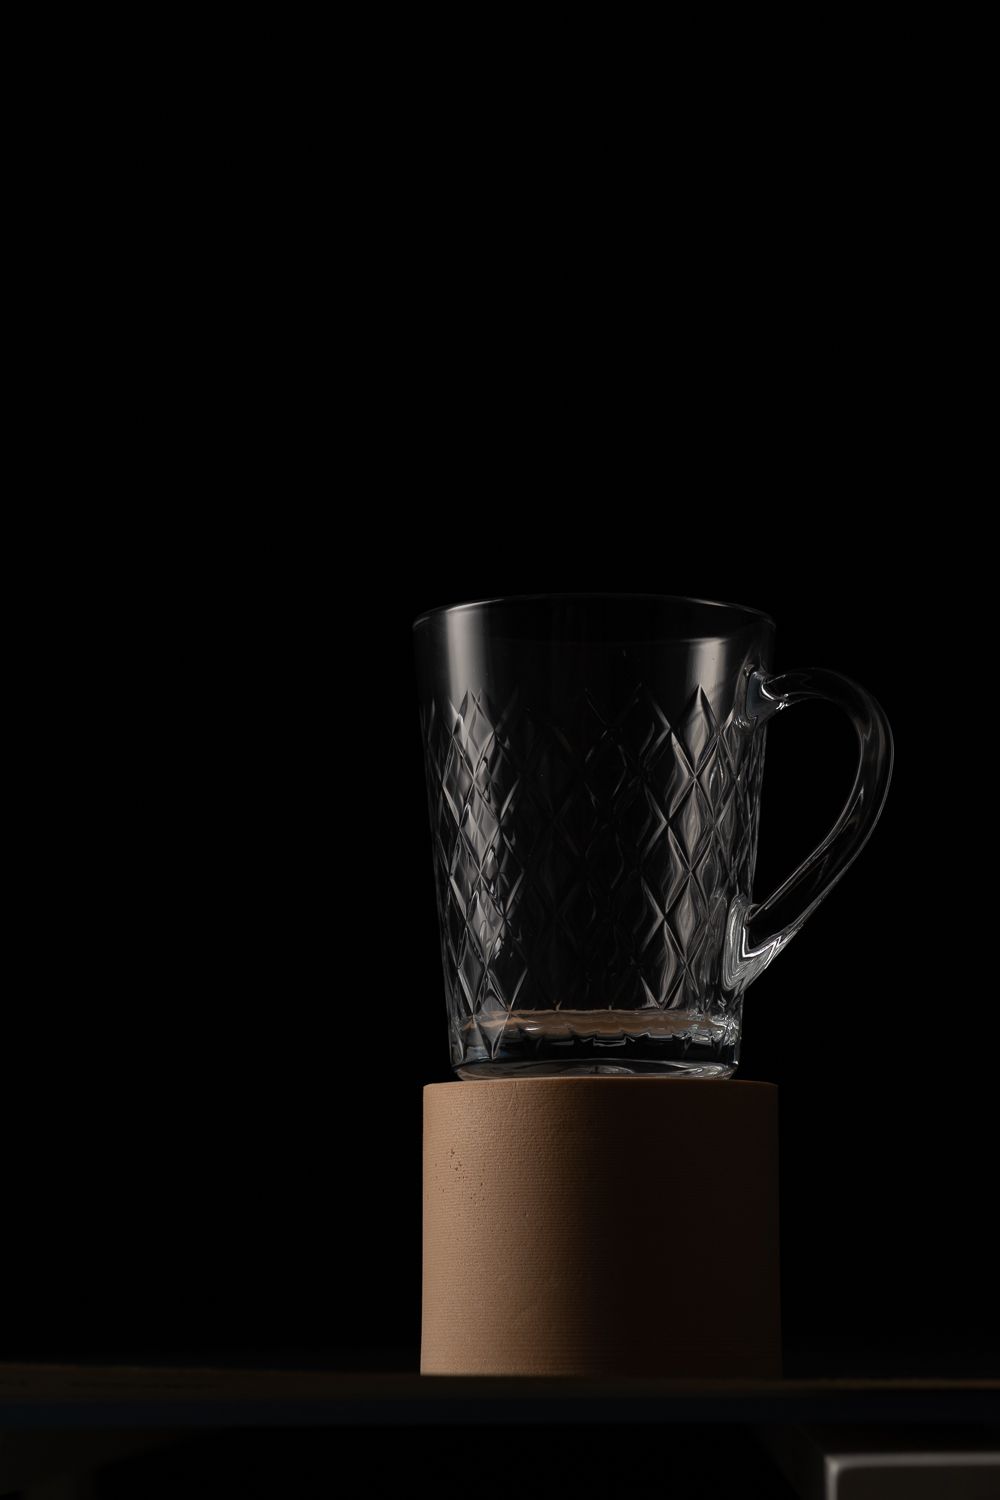
I have also shot a few more glasses to show you how the glare looks differently on different surfaces. All photos have not been edited and here as they were shot.


Few more tips
- The wides the light source (not the light itself) the wider the glare.
- Distance also place a huge part, the further you place your strip/soft box, the wider the glare is.
- Intensity of the light matters for the exposure, it's almost never helps with the the glare
I hope I was able to explain it in the post in a way that you can understand it better, but if not, please feel free to reach out and I am happy to help you. If you have any other topic you are interested in, let me know.
Sincerely yours,
Syriuss Photographer

